This is post is a little celebration for having successfully completed my GAPS journey. For the past ten months, I have been following the GAPS diet to aid my gut in recovery from long spells of unhealthy eating habits. Last month I slowly started to reintroduce starches and grains to my diet again. A couple of boiled potatoes, some soaked quinoa, even a raw nut or two. I had no digestive issues whatsoever so I decided it’s time to go back to eating my beloved sprouted flour again.
How did I know I was ready to eat grains again? My body was telling me this. Despite being a heavy grain eater before, I never really felt compelled to break my GAPS restrictions and start eating them again. But it all changed about nine months in. I started to crave grains for no apparent reason. These cravings were weak at first so I ignored them but once they got stronger I understood. They were my body’s method of communicating to me that I am free and healthy enough to eat grains again.
Are Grains Bad?
I strongly disagree with the statement that grains are bad for us. Grains have been with us for centuries, they are one of the first kinds of foods we as humans grew and harvested on our own. How could they possibly be unhealthy if our ancestors ate plenty of them and were just fine? Years of eating modern processed foods can damage your gut enough so that it will be difficult for you to digest grains. And that’s what GAPS is for. To make you able to eat grains again. So if you are ready and you have no digestive issues when it comes to grains, give this recipe for sprouted flour a try. But don’t force it if you don’t think you’re strong enough just yet!
Now that my GAPS journey is over, I want to start following Matt Stone (from 180 Degree Health)’s protocol for raising my basal temperature with foods full of carbs, starches, and grains. I did it once before and the results were overwhelming! To make that happen, I need my sprouted flour.
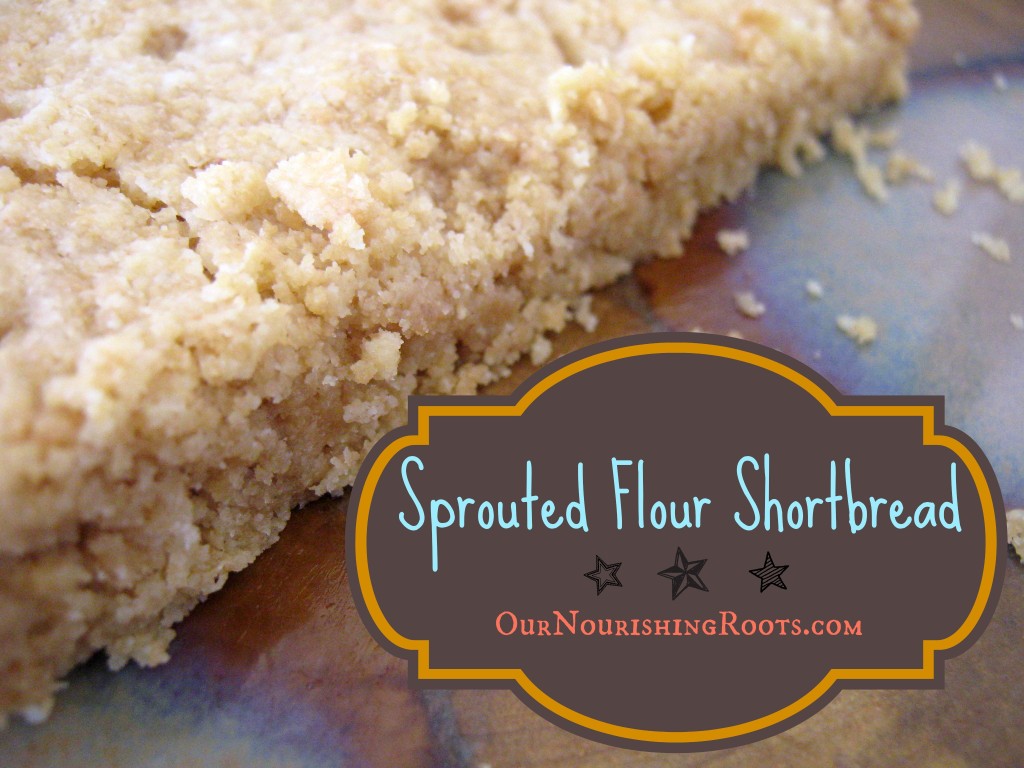
I am making a batch of sprouted flour almost every week and then later use it in most recipes that involve flour. Why not just use regular flour? Just like with nuts, seeds, and beans, grains are easier to digest if they have been thoroughly soaked. Sprouted flour is great not only for making bread, but also for pancakes, pies, and cookies! Psst, if you really don’t have the time to make your own, you can always buy sprouted flour at most health food stores. But be aware that you will get hooked and begin wanting to cook up a homemade batch. When that happens, come back to this recipe.
To make sprouted flour, you will need something called grain berries, also often called wheat berries. They are the kernels from which flour is made of. There are many types available but as long as they are whole grain, this recipe should work. I usually use spelt or teff berries.
Necessary equipment:
- half gallon glass jars
- a canning funnel with a wide mouth
- a large kitchen cloth
- sprouting lids
- a flat dish for dehydrating, e.g. a pie plate
- a dehydrator
- a grain grinder
- a sieve
Ingredients:
- several cups of raw whole grain berries
- filtered water
Instructions:
- Use a canning funnel to pour the whole grain berries into your glass jars. Make them less than half full.
- Fill the jars with filtered water as much to the top as you possibly can.
- Cover all the jars with a kitchen cloth and leave to soak overnight at room temperature.
- In the morning, drain the water out of the jars and rinse the berries again.
- Screw sprouting lids on the jars.
- Place your jars upside down at an angle in any shallow dish so that the water can freely drain gradually.
- Rinse the berries twice or three times a day, fill the jars with water again, and let them slowly drain in your shallow dish.
- After about two or three days, you should the first sprouts. When the length of the sprout is around the same length as the berry, your sprouting is done.
- You can use the sprouted grains as they are or dehydrate them to make flour (which is what I usually do).
Making flour:
- Layer all the sprouted berries on a dehydration tray and use a dehydrator to dry them out for about 12 hours at least.
- Now put your dried berries through a grain grinder, sprouts and everything. Do it gradually because sprouts tend to get tangled and clump when ground.
- Use a tightly woven sieve to sift the flour. This will get rid of the bran which is difficult to digest even after sprouting.
- Your whole grain sprouted flour is now ready for use! If not used immediately, store in the freezer.